Whether or not your logo mark “lands” depends on a number of factors including the surface it’s printed on, the form of the mark itself and the print process used. A fine serif wordmark reads well on a flat rigid lid of a box but can close up when printed with foil stamping on a textured surface. We work with structure as the first element to be determined, followed by method, then placement, and finally we approve the artwork for you.
What the Box Decides Before the Logo Does
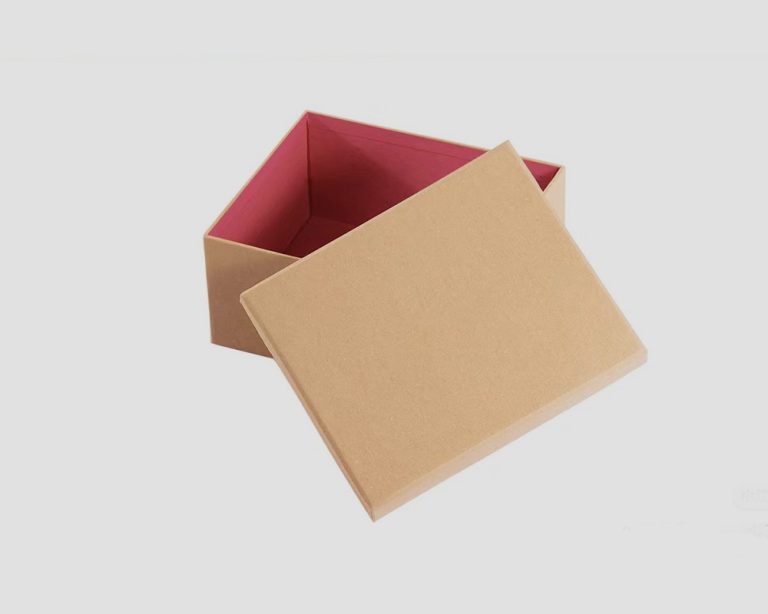
The box is the area that the logo will operate within so we start with that. A rigid lid is a flat panel which can be stamped and the stamping surface is clean. A drawer front is a small vertical surface. Textured or laminated board affects how light travels through the mark. The same logo will look different on folding carton boxes than it does on a wrapped rigid lid.
By structuring a container, the point where the eye lands is fixed. The face of the lid is read first when using a magnetic closure. As with a book, the name on the spine is read prior to opening the cover. For a lid and base container, the top panel is the read face.
By allowing the composition to solidify first, the logo will have a proper home. Reversing this process would force the logo into a space that was never intended for it.
How a Logo Is Applied to a Box
Printing the Mark: Offset, Digital, and Pantone
The majority of logos are printed in a job, rather than stamped. The mark is then printed in CMYK in the body copy, or as a separate Pantone spot color for a single color logo. A spot color is the best option for a single color logo as the tone will remain constant throughout the job, and there will be no dot pattern to the brand color as there would be if the color was to be built up from the four inks of CMYK.
Shorter runs, varying artwork versions within a print run – all are handled perfectly by digital printing. In addition, we offer UV printing, giving sharper printed marks than offset printing. Offset is cheapest in large volumes, but then digital printing is cheapest with short print runs and late design changes.
Foil Stamping a Logo
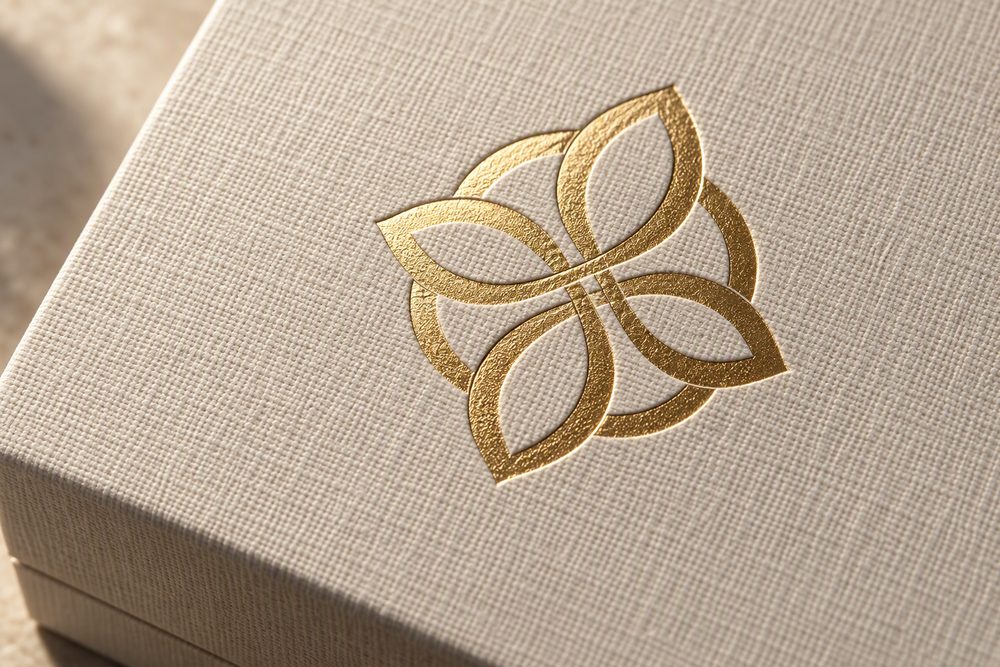
Foil stamping is a transfer process. A thin metallic or pigmented layer is lifted from the foil surface with heat and pressure to bond to the material surface. Thus the mark reads as gold, silver or even holographic and is very suitable for logos that are meant to be highlighted. Wordmarks on perfume lids as well as monograms on jewelry boxes are examples for this. The fine strokes of a logo are its weakest point. Hairlines can fill in or even disappear entirely. The causes for this are the die, the pressure, the heat as well as the surface texture of the printing board. A heavier weight of the same mark will hold its edges better.
Embossing and Debossing a Logo
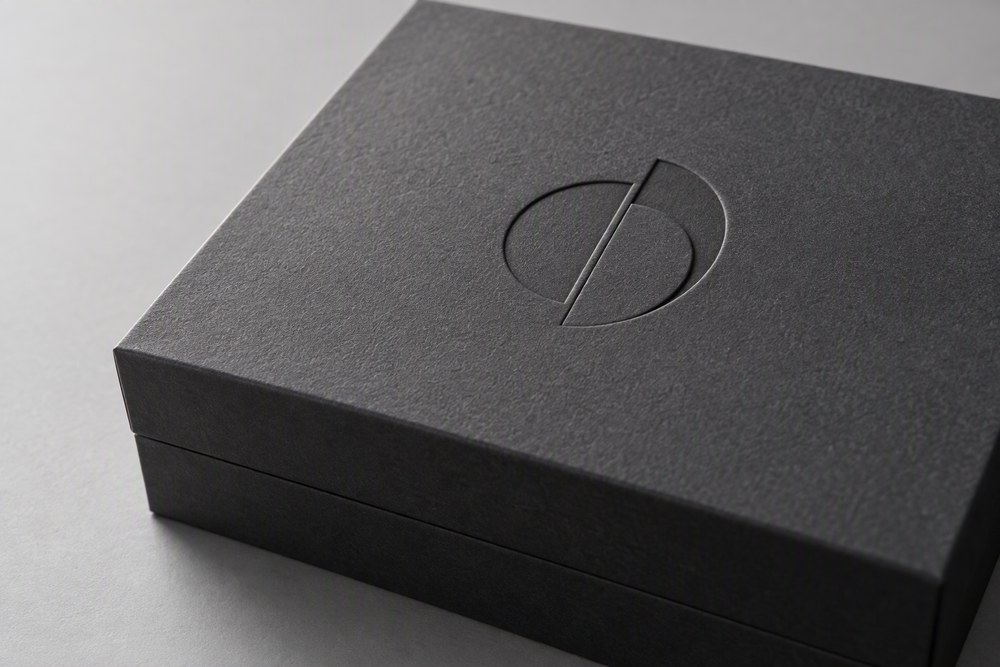
Embossing pushes your mark up from the surface of the item, while debossing presses it into the material. Since neither technique incorporates color, both will appear based on the amount of light in the area where the item will reside. A raised logo looks great at odd angles and is less likely to wear from handling because there is no metalized surface to scratch. A debossed mark is recessed and is particularly well-suited for fine line logos, monograms and very fine geometric shapes.
Spot UV and the Matte Base Behind It
Spot UV lays gloss over the mark only, so the logo stands out against a matte field without adding a color. It builds a focal point without another printed color, and it layers cleanly over the print. The base underneath decides how much contrast you get. A soft-touch or matte lamination makes the gloss read, and a glossy base flattens it.
|
Application |
What it does to the mark |
Reads as |
Suits |
|---|---|---|---|
|
Offset print (CMYK) |
Carries the mark in four inks |
Even, economical |
Multi-color logos at volume |
|
Pantone spot print |
One matched ink, no dot pattern |
Consistent brand tone |
Single-color logos |
|
Digital print |
Prints without plates |
Flexible, quick to change |
Short runs, version changes |
|
Foil stamping |
Transfers a metallic layer onto the surface |
Bright, high contrast |
Wordmarks, monograms |
|
Embossing |
Raises the mark above the surface |
Tactile, light-catching |
Broad marks read in the hand |
|
Debossing |
Recesses the mark into the surface |
Quiet, depth-based |
Fine-line logos, monograms |
|
Spot UV |
Gloss over the mark only |
Focal against matte |
Logos on a matte base |
Placement, Size, and Clear Space
Where the Eye Lands on Each Box Type
Placement follows the closed box, not the open box. Thus the mark has to go on the face of the box that the buyer sees before he opens it. A magnetic box has a lid, a drawer box a front panel of narrow width. This face has to display a wide horizontal logo in a stacked or reduced form. A book-style box only displays the spine when the box is standing upright.
Clear space matters as much as size. A mark crowded by product claims or a pattern reads as smaller than it is. Leave a margin of bare board around the logo, and keep rule work and small print away from it.
One Color or Full Color
A single-color logo is often easier to reproduce consistently than a four-color logo and also often looks better on textured and specialty papers. A single-color logo can also be easily foiled, embossed or debossed and will have good detail at small sizes where a four-color logo will begin to fill in. A full-color logo has more real estate on a large format panel, but has its own set of problems including tone drift between print runs and fine type filling in as the ink is applied too heavily.

The Logo Beyond the Lid
The mark on the lid is the first contact point with the brand, but by no means the only one. One can also print the logo on the box body, stamp it on an insert or even carry it inside as interior printing. In addition to the sleeve, ribbon or brand card, these surfaces are cheap and are read up close.
One of our European perfume customers who recently ordered 50,000 magnetic boxes used gold foil on the lid, soft-touch finish to the interior, and a molded insert to hold the perfume bottle. The printed story card was included inside the box. The logo appeared twice on this item – once on the outside of the box and again on the hand crafted rigid inner box, a very common practice for luxury items that use story to be carried in these types of boxes as opposed to having the mark printed in one place.
Preparing Artwork for Custom Boxes with Logo
Logo files are one of the biggest causes of delay in packaging projects. Supply vector files rather than printed copies and ensure that any text is output as outlines so that it does not resize on a press that does not have the appropriate font installed. Indicate any spot colors by their relevant Pantone reference number. For foil stamping, embossing and other spot color printed items, it is safer to supply your logo as vector files. Accepted vector file types are AI, EPS, vector PDF and CDR. We can also accept PSD files as printed copies, supplied at a high enough resolution to reproduce the logo at the printed size of the packaging.
It is worth running two checks before you cut your sample. First check the logo printed in black and white at the finished size to see if it reads. Then check the stroke weights against your process as something that prints well in color may close up under foil or embossing. Check your digital proof to confirm the artwork, position and size of your mark. Finally, ask for a printed sample to check the mark on the finished board.
Ordering Custom Boxes with Logo in Small Runs
Logo work used to be a long run job as the expense was in the plates and dies. With digital printing and short run tooling the minimum order quantity for logo work at Dr Box is 300 pieces depending on the structure of the item and the degree of customization required. This allows for a test launch, a limited edition run or even the first production order before increasing to larger quantities for subsequent orders.
Sampling for a logo box runs 3 to 7 working days and covers a white sample for structure, a printed sample for the mark, a structural validation, a transport-testing sample, and a customer approval sample. Production generally takes 15 to 30 working days depending on quantity and complexity, and a box with foil, embossing, and lamination tends to sit toward the longer end. Private label and NDA-covered projects are routine.
|
Step |
What happens |
Typical timing |
|---|---|---|
|
Artwork check |
Vector file, spot color, and stroke weights reviewed |
Before sampling |
|
White sample |
Structure and fit checked, no print applied |
3–7 working days |
|
Printed sample |
Logo applied in the chosen method and finish |
Within the sampling window |
|
Approval |
Mark confirmed at final size on the real board |
Customer decision |
|
Production |
Full run printed, finished, and inspected |
15–30 working days |
Conclusion
A logo printed on custom boxes is a production matter as well as a design one. The form of the box is decisive for the printing surface, the surface determines the printing method, and the printing method is decisive for how fine the printed line can be. A single-color print on a soft-touch rigid top with one foil detail looks more careful than a busy print on the full panel, and it will also hold up better on the way and on the shelf.
Start from a printed sample of your logo when contacting Dr Box for custom boxes with logo work. The mark on the board is the only version that matters.
FAQ
Q: Can I put my logo on a custom box at a low quantity?
A: Yes, the standard minimum quantity for Promotional Products is 300 pieces, depending on the product structure and degree of customization. Because of digital printing and short-run tooling, it’s often possible to produce a test launch or limited edition run. The minimum quantity for your design should always be confirmed with the supplier before you place the order.
Q: Which logo application lasts longest in shipping and handling?
A: Embossing has no printed or metallic surface to scuff. Foil stamping, on the other hand, does have a surface – a printed or metallic layer – that can scuff if the box comes into contact with a hard surface. Structure of the area stamped has to allow for some give to prevent mark from wearing off. Printed artwork under lamination would likely be safer in area of greatest contact.
Q: How small can a logo be on a custom box?
A: Printed logos can contain detail at smaller sizes than foil or embossing. This is because printed logos are made up of fine lines and these can be filled by the heat and pressure of the foil or embossing process. Test print the logo at the proposed size on a sample and check the fine strokes, the counters and any small text. If it looks ok on the sample and it will look ok on the board and with the finish then the size is ok.
Q: What artwork files do you need for a logo box?
A: Please supply logos as Vector files i.e. AI, EPS, vector PDF or CDR. We can also accept Logo design files in PSD format but only at a high enough resolution to reproduce clearly at the intended print size. All artwork is inspected prior to production for issues such as thin lines or broken counters.